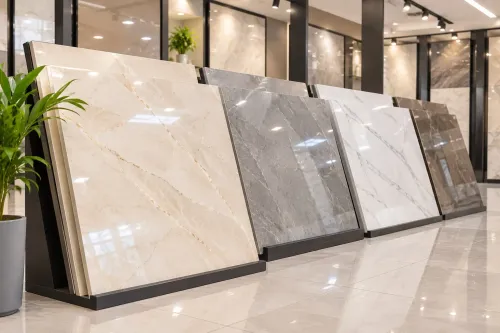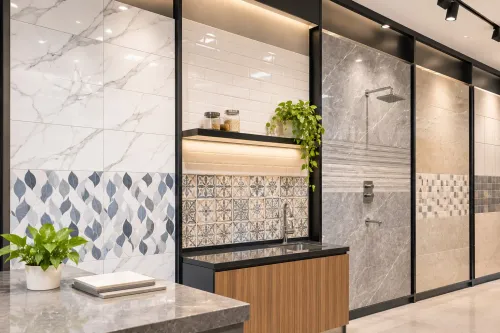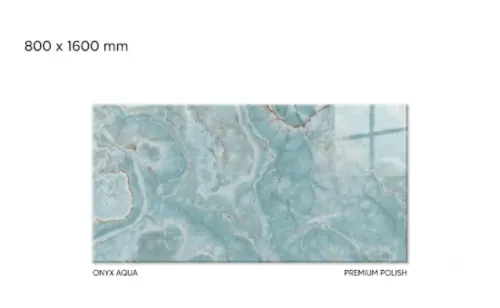
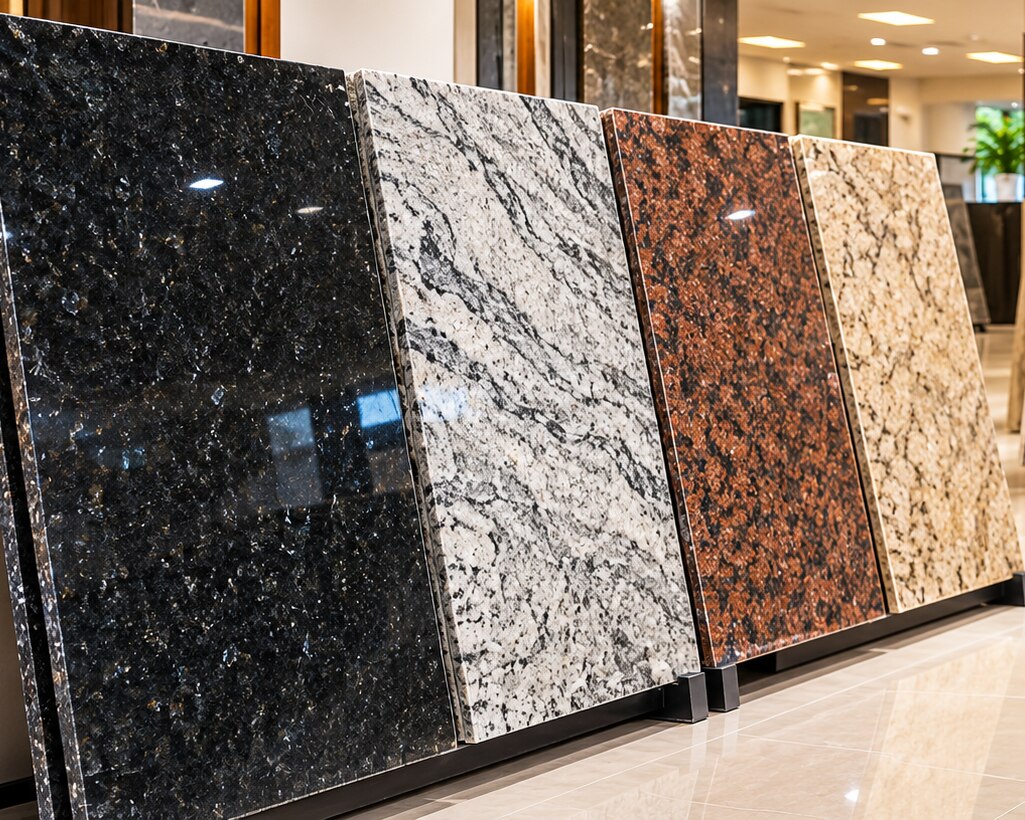
A small sample can hide a fissure, repair, colour shift, or pattern that changes the entire installation. By comparing the actual slab, its performance data, finish, fabrication requirements, and visual layout, you can choose material that suits both the design and the way you will use the space.
Key takeaways
- Inspect the full reserved slab, not just a sample or photograph.
- Match granite performance and finish to the room’s use and slip conditions.
- Confirm thickness, supports, cutouts, edge profiles, and seam locations before fabrication.
- Approve the actual cut layout to control colour continuity and waste.
Confirm What the Slab Is and Inspect Its Entire Surface
Do not approve a slab from a small sample or photograph. Ask the showroom to identify the actual material in writing and show the full slab reserved for your project, under lighting close to the installation site.
1. Check the product name, supplier description, country or quarry designation, and material category on the quotation or slab tag. Confirm whether it is natural granite, marble, quartzite, engineered stone, or a granite-look vitrified tile; similar commercial names can hide major differences in composition and appearance.
2. Compare the document with the actual slab, including its background colour, grain scale, veining, movement, and exposed edge. If the identification is disputed, request the supplier’s technical sheet and water-absorption result; ASTM C97/C97M reports absorption and bulk specific gravity. Do not accept “all granite is stain-proof.”
3. Walk the entire surface, not just the display corner. Mark fissures, cracks, resin-filled areas, repaired chips, pits, stains, mineral deposits, colour changes, edge damage, and visible warping.
A fissure is a natural mineral separation; a crack is a break through the stone, so ask the fabricator to classify each one and state whether repair or reinforcement is required.
4. Record the slab number, length, width, actual calibrated thickness, finish, repairs, transport damage, and agreed face orientation before cutting. Photograph the marked areas and obtain written approval; after sink or cooktop cutouts, it becomes harder to prove when a defect occurred.
Compare Performance for the Room and Installation Location
A suitable slab depends on exposure, loading, moisture, and support—not only on its colour. Ask for the selected stone’s test data, because stones sold commercially as granite can differ substantially in porosity, strength, and water absorption.
| Application | Compare before approval | Why it matters |
|---|---|---|
| Kitchen countertop | Water absorption, stain resistance, resin or epoxy fill, actual thickness | Oils, acids, heat, cutouts, and persistent spills expose weak or porous areas |
| Bathroom countertop or wall | Porosity, absorption, fissures, edge condition, sealer instructions | Water can enter unfilled cracks, cutouts, and edges, causing staining or damage |
| Floor | Abrasion resistance, hardness, thickness, flatness, and the chosen finish’s slip performance | Traffic wears the surface, while uneven support or a slick finish creates hazards |
| Stair | Thickness, structural support, edge integrity, and slip performance | Narrow pieces receive concentrated impact at nosings and can break or become dangerous |
| Outdoor installation | Freeze-thaw durability, water absorption, thermal exposure, and finish suitability | Indoor approval does not prove resistance to repeated freezing, thawing, rain, or temperature change |
Request an absorption result from the supplier or an independent report for that material. ASTM C97/C97M measures absorption and bulk specific gravity; use the result to set realistic sealing and spill expectations.
Confirm whether the slab is 2 cm or 3 cm, then verify its calibrated thickness. A 2-cm slab may need a substrate or laminated edge, while a 3-cm slab changes weight, support, sink installation, and edge-polishing options.
A sealer slows penetration but does not make porous areas permanently impervious. Ask which sealer was used, its curing time, maintenance instructions, and whether a test application exposed staining before fabrication.
Match the Surface Finish to Cleaning, Wear, and Slip Conditions
Choose the finish from the room’s cleaning and slip demands, not from a small showroom sample. The same treatment can look different on another mineral composition, so inspect the actual slab under bright and side lighting.
| Finish | Appearance and maintenance | Safety and suitable use |
|---|---|---|
| Polished granite | Highest gloss, strongest reflection, and deepest colour; wipes clean easily but shows fingerprints, water spots, and scratches. | Smooth when wet; use caution on floors, stairs, and bathroom areas. |
| Honed finish | Low gloss with a softer, matte colour; hides reflections but can show oil, stains, and uneven marks sooner. | Better visual grip than polished, yet confirm wet-floor suitability before choosing it for bathrooms. |
| Leathered finish | Subtle texture and low sheen highlight natural movement; crumbs and grime collect in texture, requiring careful wiping. | Offers more tactile grip; inspect whether the texture feels comfortable against skin and suits food-preparation areas. |
| Flamed finish | Rough, irregular texture with subdued colour; needs more effort to clean and can hold dirt. | Strong candidate for exterior paving or steps, but verify freeze-thaw, water-absorption, and slip performance separately. |
| Brushed or sandblasted | Textured, muted surface that disguises light marks while demanding deeper cleaning. | Consider it for feature walls or selected floors after checking barefoot comfort and wet traction. |
Run a damp cloth over the display piece and inspect it from several angles. Ask which sealer suits that finish, how often it needs renewal, and whether the fabricator approves it for your exact wet or outdoor location. A rough finish is not automatically slip-proof.
Compare Thickness, Support, Cutouts, Edges, and Seams Before Fabrication
A nominal thickness is not enough: verify the calibrated thickness at several points. Compare 2 cm granite with 3 cm granite for finished weight, cabinet support, sink mounting, and edge construction.
A 2-cm slab may need a substrate or laminated edge, while 3 cm granite may provide a deeper solid edge, but it is not automatically stronger in every installation.
| Feature | Compare | Why it matters |
|---|---|---|
| Thickness | Nominal size versus measured calibrated thickness | Changes weight, support, sink installation, and edge material |
| Support | Cabinet framing, brackets, panels, and unsupported overhangs | Excess span increases deflection and breakage risk |
| Cutouts | Sink and cooktop size, corner radius, and distance from edges | Large openings and sharp corners create vulnerable narrow sections |
| Edges | Square, eased, bevelled, bullnose, or laminated profiles | Determines impact resistance, appearance, and available polishing depth |
| Seams | Location, direction, adhesive colour, and leveling | Controls visibility and local structural vulnerability |
Ask the fabricator to state the allowable unsupported overhangs and support method in writing for the selected slab. Do not accept “3 cm needs no support”; the answer depends on stone strength, cabinet construction, overhang depth, and cutouts.
Have the cut layout drawn on the actual slab before fabrication. Move a seam away from a sink, cooktop, corner, or strong contrasting movement when the layout allows; a long, straight cabinet run usually hides it better. Record the seam locations, edge profiles, cutout dimensions, slab identification, and approved orientation before cutting.
A seam can remain visible because of lighting, pattern, adhesive colour, or uneven leveling—not only installer skill.
Compare Slabs for Colour Continuity and Approve the Actual Cut Layout
A small sample cannot predict a full slab’s colour or movement. Ask to see every slab reserved for your project and compare them side by side under lighting similar to the installation site.
Confirm whether they came from the same block and the same production lot; slabs bought later under the same commercial name may not match.
| Check | Compare | Record |
|---|---|---|
| Background colour | Base tone, grain scale, and colour variation across slabs | Approved slab photographs |
| Movement and veining | Direction, density, and prominent features | “Front” and “back” orientation |
| Grain direction | The direction that suits counters, walls, and edges | Arrow marked on each slab |
| Bookmatching | Whether adjacent slabs mirror or continue the pattern | Pairing order and seam positions |
| Material identity | Block, production lot, slab number, and thickness | Supplier invoice or selection sheet |
Have the fabricator draw the actual cut layout on the slabs before cutting. Include sink and cooktop cutouts, corners, narrow strips, finished edges, seams, and the position of visible movement; an efficient-looking plan can waste a slab when these features are included.
Ask VRINDAVAN GRANITE AND TILES to attach the approved layout and slab photographs to your quotation or work order, rather than relying on a colour name.
- Write “grain direction fixed” or “directional layout approved.”
- Mark bookmatched pairs by number.
- Note acceptable variation and any excluded fissure, stain, or resin-filled area.
- Require written approval before substitutions or layout changes.
Frequently asked questions
Why should you inspect the entire granite slab before selecting it?
A small sample or photograph cannot show the slab’s full colour movement, veining, pits, cracks, repairs, or surface variation. Ask to inspect the actual slab reserved for your project under comparable lighting.
How do you compare granite performance for different rooms?
Consider the room, exposure to water, staining, heat, impact, and traffic. Compare the material’s suitability for the specific installation location rather than choosing by appearance alone.
Which granite finish is best for cleaning and slip conditions?
Compare polished, honed, leathered, and other available finishes based on cleaning effort, visible wear, traction when wet, and the surface’s intended use.
What must you confirm before granite fabrication?
Confirm slab thickness, support requirements, sink and hob cutouts, edge profiles, seam positions, and the approved cut layout before fabrication begins.