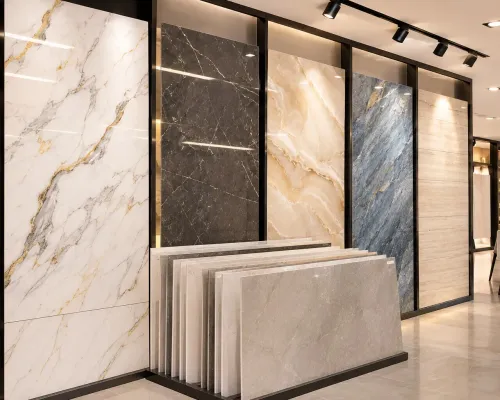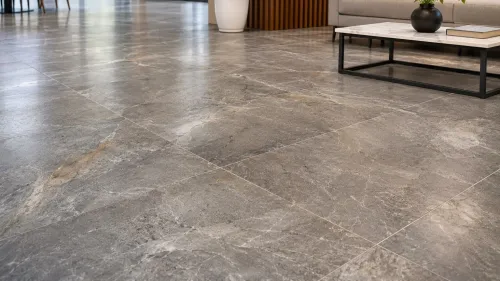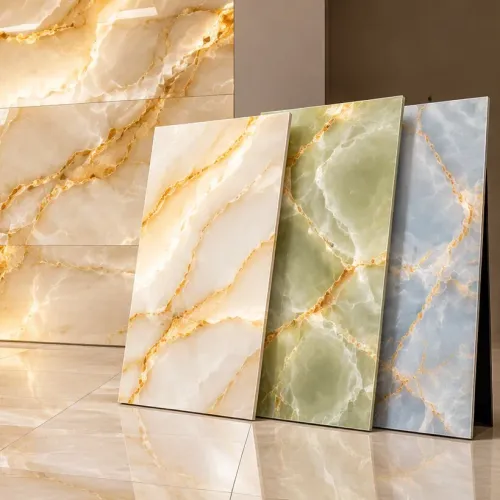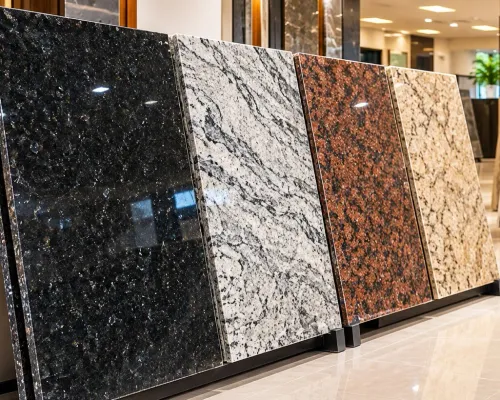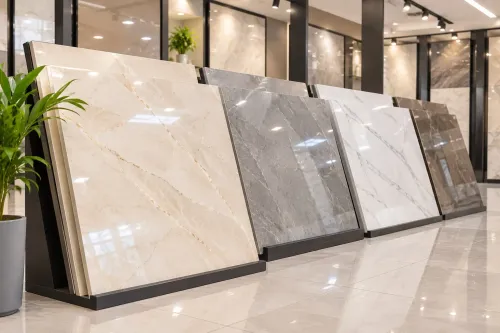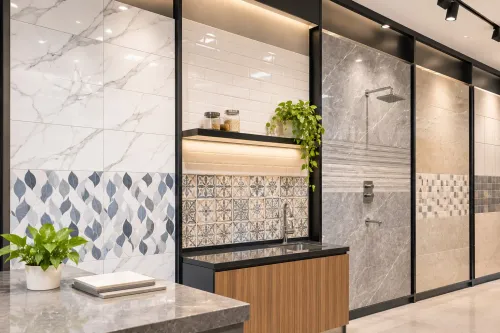
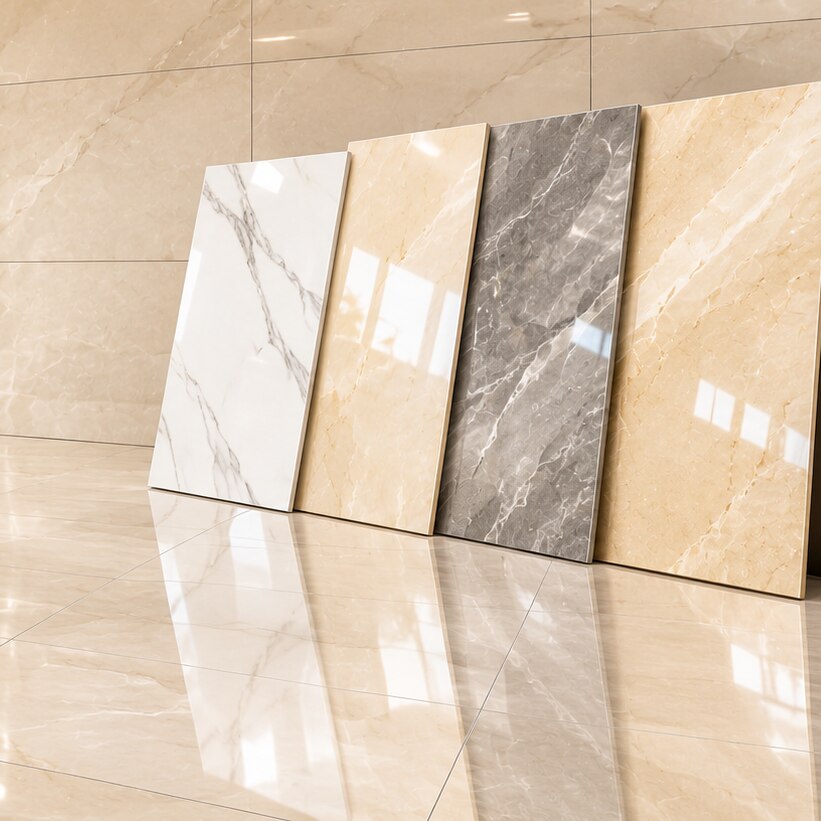
Glossy tiles can make a room appear brighter and more spacious, but the result depends on light direction, grout, wall flatness and the tile’s intended application. By comparing performance details and planning the installation correctly, you can choose a polished finish without creating glare, visible defects or unsafe walking surfaces.
Key takeaways
- Use glossy tiles to reflect light and make rooms feel more open.
- Reserve glossy floors for low-moisture areas with controlled slip risk.
- Compare tile thickness, water absorption, shade, calibre and surface defects.
- Request itemised quotations covering tiles, wastage, adhesive, trims and installation.
How Glossy Tiles Change Light and Room Proportions
A glossy tile usually makes a room look brighter and slightly larger because its surface sends light back into the space instead of scattering it. The main gain is glossy tile light reflection: walls appear more open, and bright interior finishes feel more luminous.
The result depends on the light available. A north-facing room with a small window will not become sunny simply because its tiles shine, while a large south- or east-facing window can create strong glare on a highly reflective wall.
Daylight and artificial light also reveal different undertones; warm bulbs can make beige tiles look cream, while cooler LEDs can push grey tiles toward blue.
Check these conditions before choosing a shade:
- Window size and room orientation: more incoming daylight increases brightness but also highlights reflections.
- Light colour temperature: warm 2700K to 3000K bulbs enrich cream and beige; cool 4000K bulbs make whites and greys appear crisper.
- Grout colour: matching grout quiets the joints and enlarges the visual field; contrasting grout makes each tile more noticeable.
- Tile format: small bathroom tiles add more grout lines and visual rhythm, while larger tiles create fewer interruptions and a broader-looking wall.
View a full-size sample under the room’s actual lighting, with the planned grout colour and joint width. Gloss can also expose uneven walls, water spots and fingerprints, so a brighter appearance comes with more visible surface maintenance.
Where Glossy Wall Tiles Work—and Where They Create Risk
Glossy wall tiles are strongest on vertical surfaces where water, grease, and dust need a wipeable finish rather than foot traction. Use them for kitchen backsplash tiles, bathroom wall tiles, shower wall tiles, feature walls, and other low-contact areas.
| Surface | Suitable use | Main risk or check |
|---|---|---|
| Kitchen backsplash | Grease and splash zone | Confirm cleaner compatibility and grout maintenance |
| Bathroom or shower wall | Vertical wet-area finish | Match the product to wet-area installation and cleanability |
| Feature wall | Bright, polished focal surface | Large formats expose uneven walls |
| Floor or step | Only when specifically rated for flooring | Wet gloss can reduce traction and increase fall risk |
Avoid glossy tile on floors when the product is labelled for walls only, lacks a stated floor application, or has no stated slip rating. A polished porcelain surface can behave differently from unpolished porcelain made from the same body; water, slope, footwear, and contaminants all affect traction. “Porcelain” alone is not a safety specification.
PEI describes glazed-tile wear resistance, not slip safety, chemical resistance, or approval for your floor. Do not select a wall tile for a lobby, bathroom floor, wet-room walking area, or staircase because it looks dense or luxurious. Ask for the intended-use classification and slip data.
Large-format glossy tiles also demand a flat substrate: about 1/8 inch in 10 feet, with 1/16 inch in 2 feet for tiles with an edge of at least 15 inches. Confirm who pays to correct an uneven wall before installation.
What to Compare Beyond Shine and Colour
A high gloss finish only tells you how strongly the surface reflects light. Compare the tested performance, intended use and manufacturing precision before choosing between similar-looking options.
| Specification | What to compare | Why it matters |
|---|---|---|
| Gloss level | Ask whether the finish is polished, high-gloss or satin-gloss | Higher reflection highlights wall irregularities, fingerprints and cleaning marks. |
| Porcelain tile specification | Request the tested water absorption value; porcelain is 0.5% or less under the relevant tile standard | “Vitrified” alone is not a dependable technical specification. |
| Tile water absorption | Compare the actual percentage on the technical sheet | Lower absorption supports stain resistance, but does not prove slip safety or floor suitability. |
| Surface abrasion | Check the PEI rating on glazed tile | PEI indicates resistance to surface wear; it does not replace checks for slip, chemicals or absorption. |
| Slip performance | Confirm the rating and intended application for the polished surface | A polished porcelain tile can become hazardous when wet, even if its body is dense. |
| Rectified tile edges | Inspect edge straightness and confirm the recommended joint width | Rectification improves alignment, but does not permit a zero-width joint. |
| Shade and calibre | Match the shade code, batch and calibre across cartons | Small production differences become obvious across a large reflective wall. |
| Thickness and surface flatness | Compare thickness and check samples under side lighting | Thin or bowed tiles expose uneven backgrounds and create visible lippage. |
Also ask whether the tile needs routine cleaning products or special care. Porcelain usually needs no sealer, while cementitious grout or natural stone may; a quotation must identify exactly which surface receives the sealer.
Installation Details That Protect a Polished Finish
A polished finish starts with a flat, clean substrate. Glossy surfaces reveal waviness, lippage, grout haze and water marks that a matte tile might disguise.
1. Check substrate flatness before ordering installation. For a large-format glossy tile installation, common ANSI tolerances are about 1/8 inch in 10 feet and 1/16 inch in 2 feet when any tile edge measures 15 inches or longer. Put responsibility for grinding, levelling or rebuilding an uneven surface in writing.
2. Inspect every carton before fixing. Match the tile batch and shade, caliber, size and edge finish; mixing production runs can create visible bands or changing joint widths despite identical colour names. Set aside damaged or inconsistent boxes.
3. Approve a full-size sample under the project’s actual daylight and artificial lighting. Test the tile grout colour and planned joint width together. Contrasting grout highlights the grid and size variation, while a matching colour softens it.
4. Set the joint width from measured tile variation, not from the word “rectified.” Allow at least three times the actual facial variation, with 1/16 inch as a practical lower limit for rectified tile. Zero-joint fixing can cause chipped edges and uneven lines.
5. Confirm the recommended adhesive, grout, movement joints, trims and transition pieces before work begins. Dry-lay the first area, check door clearances and sightlines, and remove adhesive from faces immediately; dried residue becomes conspicuous on dark, highly reflective tile.
How to Evaluate a Glossy Tile Dealer’s Complete Quotation
Before placing a deposit, require a written quotation that identifies materials, quantities, installation responsibilities and exclusions. A low headline price can conceal missing trims, incompatible grout or no allowance for correcting an uneven substrate.
1. Product details: manufacturer, collection, size, thickness, finish and intended wall or floor use. If it is called porcelain, request its tested water absorption value; porcelain is 0.5% or less, while “vitrified” alone proves nothing.
2. Batch control: list the required cartons, waste allowance and spare cartons, then record matching lot, shade and caliber. Mixing production runs can create bands or different joint widths.
3. Installation materials: name the adhesive, grout brand, grout colour, joint width and movement-joint locations. For large-format tile, state who pays to correct the substrate; ANSI tolerances are about 1/8 inch in 10 feet and 1/16 inch in 2 feet when an edge is 15 inches or longer.
4. Edge details: price tile trims and transitions, corners, thresholds and finishing profiles separately, with their material and colour specified.
5. Sample approval: inspect the actual tile with your chosen grout colour and joint width. Contrasting grout emphasizes the module; matching grout visually softens joints.
6. Care documents: request tile cleaning and maintenance instructions, including whether sealing applies to the tile, cementitious grout or stone. “Sealed tile” is not specific enough.
Use this tile quotation checklist with glossy tile dealers, including VRINDAVAN GRANITE AND TILES, before approving the final order. Ensure every promised item appears in writing, not only in a showroom conversation.
Related products
 | Regal Collection (Glossy) – Regal Collection from VRINDAVAN GRANITE AND TILES is a premium glossy wall tile inspired by the timeless beauty of natural travertine... View product → |
 | Regal Collection Alison Bone (Glossy) – Regal Collection from VRINDAVAN GRANITE AND TILES is a premium glossy wall tile designed to bring elegance and sophistication... View product → |
Frequently asked questions
How do glossy tiles change a room’s light and proportions?
Their reflective surface sends more light back into the room, making walls appear brighter and spaces feel more open.
Where do glossy wall tiles work best?
They suit living areas, kitchens and feature walls where reflected light improves the finish and cleaning access is straightforward.
When can glossy tiles create safety risks?
Glossy floor tiles become risky in bathrooms, balconies and wet entrances because water reduces traction and increases glare.
What should you compare besides shine and colour?
Check water absorption, thickness, size consistency, shade variation, calibre, slip rating, cleaning needs and visible surface defects.
What should a complete glossy tile quotation include?
Ask for tile quantities, wastage allowance, batch details, adhesive, grout, trims, delivery, installation labour and applicable taxes as separate line items.